Published
- 4 min read
The Ultimate DIY Hummingbird Nectar Recipe (Safe, Easy & Dye-Free)
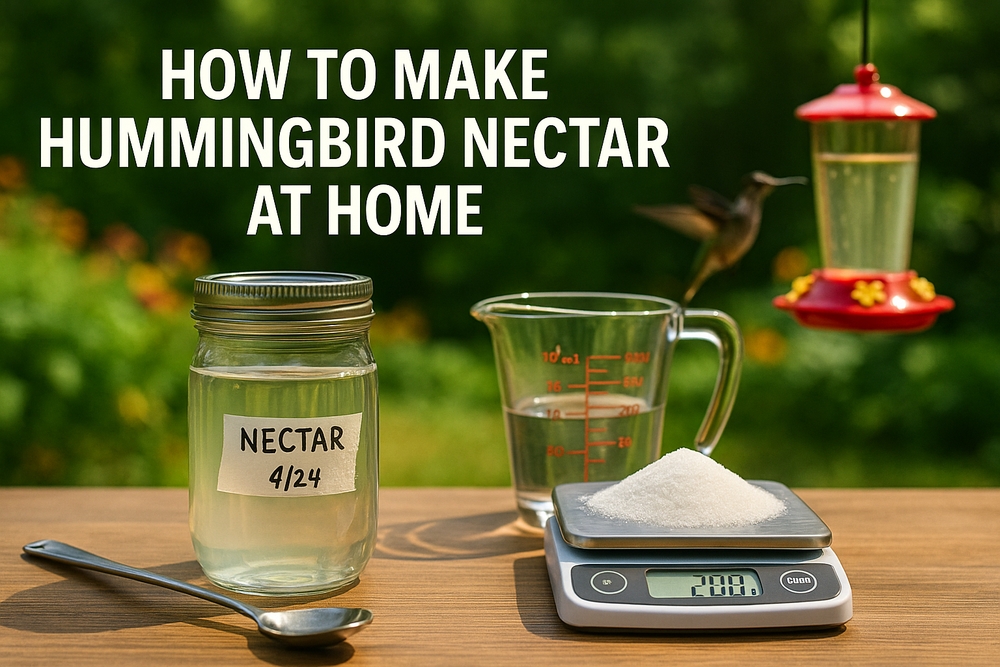
🍯 How to Make Hummingbird Nectar at Home (The “Golden Ratio” Recipe)
If you want to attract hummingbirds to your garden, the secret isn’t in a store-bought bottle of red liquid. In fact, most experts—including the Audubon Society—agree that making your own nectar is safer, cheaper, and healthier for the birds.
Store-bought nectar often contains preservatives and red dyes that hummingbirds simply don’t need (and that might harm them). By making it yourself, you control exactly what goes into their tiny bodies.
This guide will walk you through the perfect recipe, the science behind it, and the tools that make the process a breeze.
🧪 The Science: The 4:1 Ratio
Hummingbird nectar has to mimic the natural sucrose found in flowers. The magic number is 1 part sugar to 4 parts water.
- Why this ratio? It closely resembles the average sugar concentration of the wildflowers hummingbirds naturally visit (about 20-25%).
- Can I make it sweeter? In winter, some experts suggest a 3:1 mix to provide more energy, but 4:1 is the safest standard for year-round feeding.
- Can I dilute it? A 5:1 mix is okay, but 4:1 is preferred to ensure they get enough calories.
👩🍳 The Step-by-Step Recipe
Prep time: 5 minutes
Cooling time: 1-2 hours
Ingredients
- 1 Cup White Granulated Sugar (Table Sugar)
- 4 Cups Water (Tap is usually fine; filtered is better if your water is hard)
Instructions
- Boil the Water: Bring your 4 cups of water to a rolling boil. This kills any bacteria or fungus spores in the water, which helps your nectar stay fresh longer.
- Add Sugar: Remove the water from the heat. Pour in the 1 cup of sugar.
- Stir to Dissolve: Stir continuously until the sugar is completely dissolved and the liquid is clear.
- Cool Completely: Crucial Step! Let the nectar cool to room temperature. Filling a feeder with hot liquid can crack the glass or leach chemicals from plastic. More importantly, hot nectar can burn a hummingbird’s sensitive tongue.
- Fill & Store: Pour what you need into your feeder and store the rest in the fridge.
🚫 3 Ingredients to ALWAYS Avoid
I cannot stress this enough: Stick to plain white sugar.
- ❌ Honey: Honey creates a perfect environment for a fungus that causes a fatal tongue infection in hummingbirds. Never use it.
- ❌ Brown Sugar / Molasses / Raw Sugar: These contain iron. While iron is good for humans, it is toxic to hummingbirds in these concentrations.
- ❌ Red Dye: It is synthetic, unnecessary (birds are attracted to the red feeder, not the liquid), and linked to health issues.
🛠️ Essential Tools for the Perfect Batch
While you can use any pot and spoon, having a dedicated “Nectar Kit” makes the chore feel like a hobby. Here are the tools I use to keep my measurements precise and my kitchen clean.
1. Precision Weighing
If you are making large batches, weighing sugar is more accurate than scooping.
Recommendation: The Ozeri Kitchen Scale (0.1 g precision) is fantastic for getting that ratio exact every time.
2. The “No-Spill” Pitcher
Pouring sticky sugar water into a tiny feeder opening is a recipe for a mess. You need a pitcher with a precise spout.
Recommendation: I use the QWORK 32 oz Measuring Pitcher. It has clear markings and a control pour spout that saves me from wiping up sticky puddles.
3. The Deep Stirrer
Standard spoons often don’t reach the bottom of a pitcher, leaving undissolved sugar.
Recommendation: A Long-Handled Stainless Steel Spoon ensures every granule dissolves.
4. The Backup Plan
Sometimes life gets busy. If you run out of homemade nectar and don’t have time to boil and cool a new batch, keep a safe, clear store-bought option in your pantry.
Recommendation: Pop’s Nectarade (Dye-Free) is a great emergency backup. It’s clear, safe, and ready to use.
🧊 Storage Tips
- Fridge: Homemade nectar lasts up to 2 weeks in the refrigerator.
- Labeling: Always put a date on your jar. You don’t want to accidentally feed them month-old spoiled nectar!
- Feeder Life: Once in the feeder, it lasts 2-5 days depending on the heat.
By making your own nectar, you are saving money and, more importantly, saving birds. It’s a small effort that yields a backyard full of life.
Happy Mixing!